How to clean the system unit from dust at home?
As you know, the stability of a personal computer depends on many factors: configuration configuration, the presence of virus software on the device, memory usage and dust. It is dust that is one of the most common causes of “brakes” on the operating system. Note that the user first of all turns his attention to problems that are associated with the operation of the OS and, most recently, to physical factors. But it is precisely large dust accumulations inside the device’s system unit that annoy most. If you are not used to timely cleaning inside the computer, be prepared for problems such as:
- “Brakes” of the system due to unstable operation of the cooling system;
- short circuit, which may occur just due to dust on the elements of your device.
In this article, we will “learn” to monitor the cleanliness of a PC and talk in detail about ways to clean the system unit from dust at home.
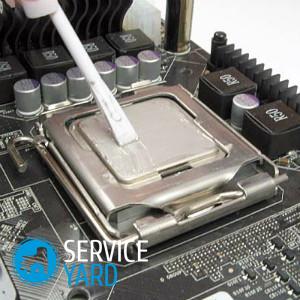
to contents ↑Important! Laptops also require periodic cleaning of dust, as well as the replacement of thermal paste, which provides normal heat transfer between the radiator and the surface of the processor. Find out in our separate article,which thermal grease is better.
Dust cleaning
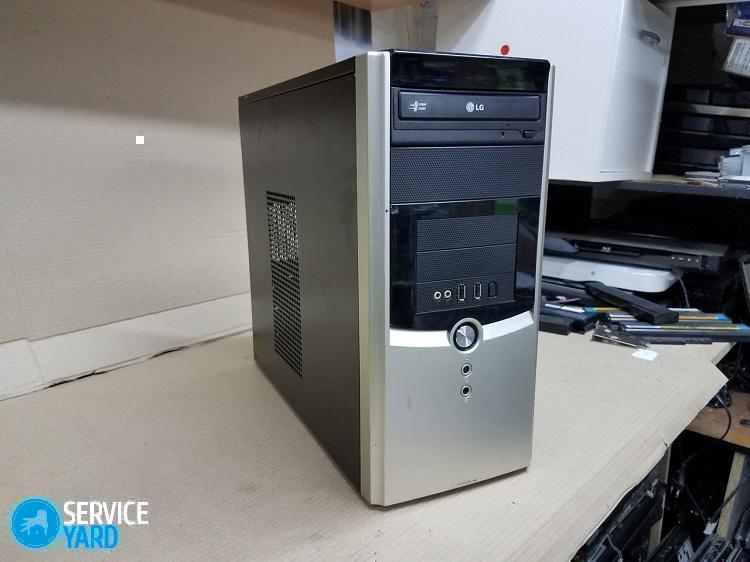
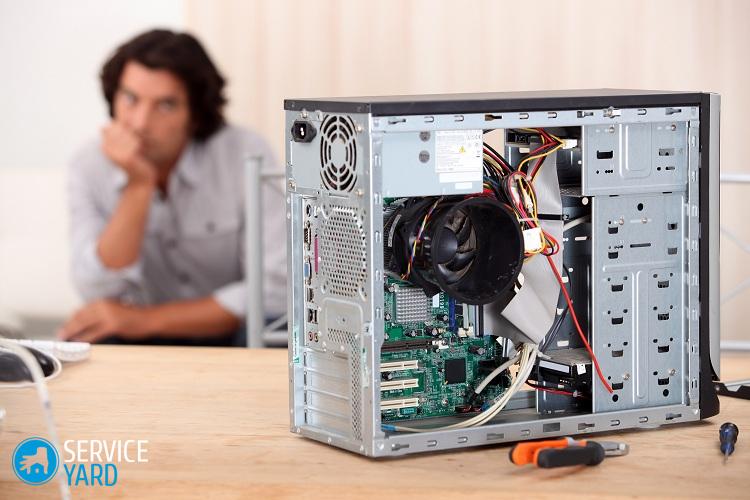
Now we will figure out how to clean the system unit from dust at home? The procedure for novice users will not seem the easiest and safest, but we ask you not to be afraid - there is not something extremely complicated here.
Training
Let's start the cleaning step by step:
- We recall the school and devote time to safety. The device must be de-energized so that work inside the unit is not overshadowed by fraught consequences.
- All components must be disconnected from the system unit: printers, scanners, a variety of lamps, monitors, speakers, etc.
Important! We advise novice users to mark all components or photograph the connections, since a lack of experience can lead to difficulties at the assembly stage.
- Remove all static from yourself by touching anything metallic, because even the smallest currents can disrupt the operation of components inside the system unit.
Important! The speed and performance of a computer is greatly influenced by the presence of viruses. Follow the link where we teach you remove viruses yourself.
Now “strip” the unit by removing the bolts from the side cover, and then to clean the computer from dust:
- Set the cover and bolts aside in a prominent place so that you can easily return everything back then.
- Lays the system unit on its side so that the motherboard is opposite the face.
- We take out random access memory. To do this, unfasten the latches at the ends. Do not overdo it with efforts, because mechanical damage is useless for you.
- With the same caution, we remove the video card, which most often rests on a bolt and is attached with one latch to the “motherboard”.
- Attention should be paid to the sound card and modem, if any. To do this, look under the video card. We remove these components with the same caution.
- Here it came to the hard disk drive. We shoot them too.
- Now it’s worth putting all the parts in front of you on the floor in the order they were dismantled - this will help you assemble the computer back in the correct sequence.
Important! Laptop users often face the problem of overheating equipment, especially when using it while lying on a bed or sofa.
To continue to do this safely for technology and with pleasure for yourself, we suggest that you figure out how to choose good laptop stand.
Cleaning
We pick up a vacuum cleaner, a soft brush and rubber gloves (optional) and do the following:
- We get a low-power vacuum cleaner, from which it is necessary to remove the nozzle (some models have special small nozzles).
Important! For such procedures, a special vacuum cleaner is best suited, which can be purchased at any hardware store. Vacuum cleaners with high power can damage the integrity of the components that are installed on the component chip.
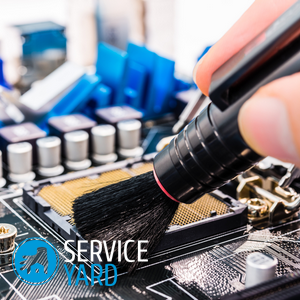
- You will need a soft brush that can not damage the components. We turn on the vacuum cleaner and thoroughly clean all the details. Just brush away the dust with a brush and collect this disgrace with a vacuum cleaner.
- To clean the cooler, you should bring the vacuum cleaner close to it and “untwist” it with air currents. Dust from the spinning cooler will fly off and fall into the garbage bag that the vacuum cleaner is equipped with.
- Do not forget to clean all the chips, while being careful.
Important! Do not try to change the thermal grease on the processor yourself if you have never done this procedure.
How to clean a computer without a vacuum cleaner?
- With a brush and your lungs. We also clean the components while blowing off dust in them. This method is less effective and takes more time.
- Also, the vacuum cleaner can be replaced with a cylinder of compressed air. A cylinder can easily blow off the dust with a sufficient airflow, but again, this method is “dirtier”, since all the dust will fly to the “workplace”.
We are not in a hurry to install computer parts in their places. Care must be taken to clean the power supply.
Important! Never put off cleaning the power supply for later. Together with the cooler, dust is sucked into the device, which clogs the radiators and settles on the board, impairing heat transfer, which is fraught with undesirable consequences.
Power Supply:
- Again, lay our “electronic friend” on its side and unscrew the two bolts (in most cases) that are located at the end.
- We see in front of us bundles of wires that extend from the power supply. Carefully disconnect all wires from the computer hardware.
- Now you need to unscrew the four bolts on which the rear panel is mounted.
- We remove the cover and go through a brush and a small vacuum cleaner on the circuit board, radiators and other details.
Important! Do not touch the cooler blades with your hands. Greasy prints collect dust perfectly, but we don’t need it.
- We finish the procedure, collect the power supply and install it in place.
We finish the cleaning of the system unit by the phased return of all the devices that were removed from it. There should not be a problem with this.
Should I clean the monitor and other devices?
Monitors, speakers, routers and printers will not tolerate the intervention of amateurs inside themselves. Do not try to clean these appliances from the inside by yourself! Yes, and such devices do not require inside cleaning. But if such a need arose, contact the nearest service center where professionals will deal with this matter.
to contents ↑Important! Frequent movements of the laptop may cause scratches on it. Learn how to bring good looks back to your technique. Use our tips for this,how to remove scratches from a laptop.
Stock footage
Now you know how to clean the system unit from dust. Finally, I would like to add that you can avoid regular cleaning with the usual wet cleaning and airing in the room in which there is a stationary computer. Such measures will help you less often to assemble and disassemble the device and to clean it from dust.
 (No ratings yet)