

How to sew a zipper with your own hands?
Zipper-lock is a unique invention, which for many years has been used in sewing clothes and for repairing things. Today it is made from a variety of materials, for example, metal, plastic and polyester, in addition, it can have different thicknesses and densities. Many craftswomen often encounter these products in the course of work, but not all of them know how to sew the zipper with their own hands correctly, which causes various difficulties. Today we will try to understand this problem, tell you how to choose the right lightning and install it.
to contents ↑Lightning lock device
Before you sew in a zipper yourself, you need to understand what it consists of in order to install correctly. This is very important, since the life of the device directly depends on the correct selection of this device.

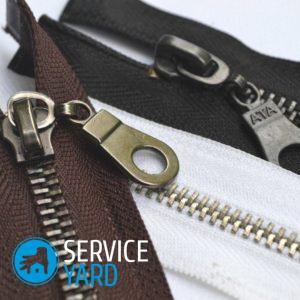
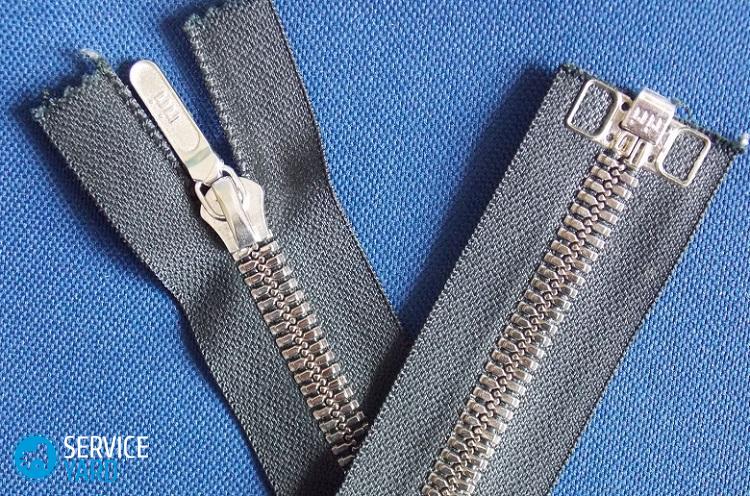
The classic functional elegant lock consists of the following elements:
- Dog with a ring. This part moves along the line of the castle, disconnects and closes its links.
- Cogs. Simply put, these are the links that provide the most tight connection.
- Braid or strip of matter. It is to it along the edge that the teeth are attached.
- Rivets. These special elements do not allow the dog to slide off the end of the line. As a rule, there are two rivets on the top, on split models only one on the bottom.
If you decide to sew a zipper with your own hands, then you should choose the appropriate option, depending on the type of fabric and the purpose of the clothing.
to contents ↑How to choose a zipper for a product?
Before you embroider a zipper with your own hands, it is recommended to correctly determine the appropriate fastener option for a particular case.
Rules for choosing a zipper, depending on the purpose of the clothes:
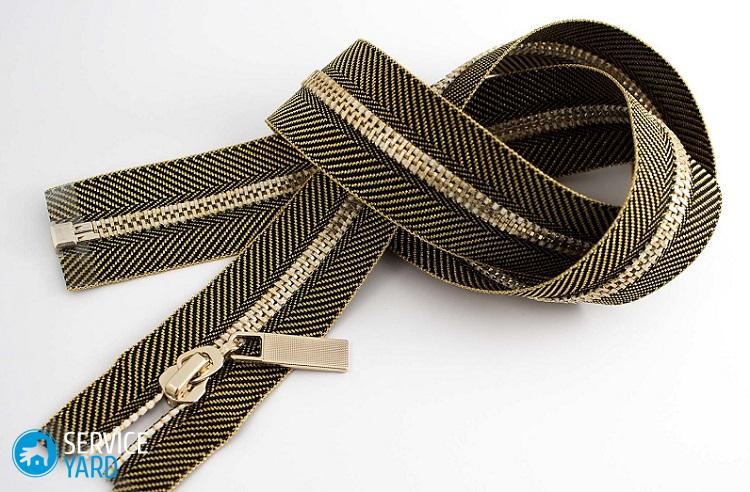
- For raincoats, windbreakers, dresses made of thin fabric, it is better to purchase synthetic or plastic fasteners. They are lighter, more flexible, are not afraid of moisture, and are not subject to corrosion, unlike untreated metal products.
- Metal zippers are suitable for warm, heavy things, jeans trousers, clothes for sports or outdoor activities. They are distinguished by high strength indicators, all cloves reliably interlock with each other, withstand maximum tension.
- Secret lightning. Models with small elements made of synthetics and plastic are ideal for cases where it is undesirable for the locks to be noticeable.
Important! A secret option is more often used for women's clothing. But it is with him, as a rule, that the craftswomen have the greatest number of difficulties. The hardest thing is to make the zipper really invisible, it should be located in the seam.
Features and methods of stitching secret zippers
Hidden fasteners must be sewn clearly and consistently, performing every step in a quality manner. It is important to securely fasten each element, work with the fabric as accurately as possible, while taking into account its main parameters. For example, in too thin materials, the edges crumble, which is why finished products look ugly. Before embroidering a secret zipper with your own hands, you must correctly determine the place for its fastening.
There are several basic ways to sew:
- Front in the middle. Such hidden clasps are rare, more often they are placed on dresses with a cutting waist or on tops.
- In the side seam.In this case, it is important to be as careful as possible so that the barrel does not bend after the zipper is sewn.
- Centered on the back. This is a universal option, it can be used for dense and thin fabrics.
Important! If you know how to properly embed hidden zippers, then it is not at all necessary to select them according to the color of the product, since they are completely embedded in the seam and look like its continuation. The main feature of such locks is invisibility on the front side of the line. Before buying parts, you must first measure the incision under it. Ideally, it should be 2 cm longer.
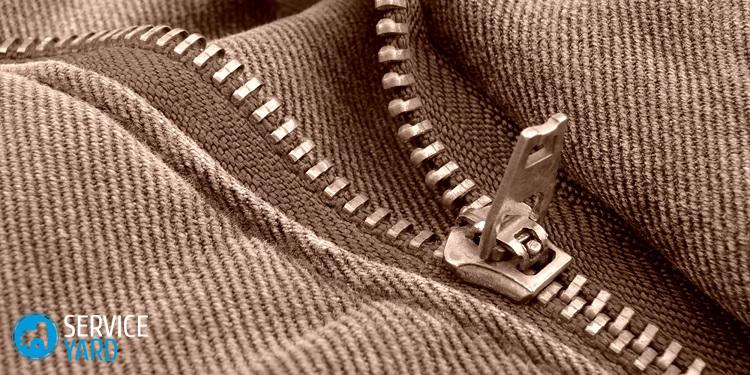
How to sew a zipper on your own?
Starting self-stitching zippers, make sure that all sections are open.
Important! Remember the allowances - a minimum of 1.5 cm must be retreated in width.
The product must first be marked with chalk, a piece of soap or a fading marker.
Sew in the zipper as follows:
- Open the fastener, put on the product allowances with its front side along one edge of the cut. At the same time, carefully make sure that all the teeth coincide with the axis of the middle of the back.
- Unscrew the allowances to the wrong side, press them. Determine the distance from the edge of the ribbon to the middle section of the fabric.
- Bend the teeth with your finger so that the place for the seam becomes visible between the braid and the teeth.
- Pin the top edge of the tape onto the seam allowance. That is, back off a short distance from the top cut.
- Determine the end of the tape from the bottom - it should slightly protrude beyond the lower edge of the cut.
- Place the machine’s foot over the tape, with the spiral located under the notch to the right of the needle.
- Sew the zipper from the top to the mark, close it. Finish the stitch when the foot rests against the dog.
- Place the other side of the tape facing the allowance on the outside of the fabric. Pin the top edge of the tape with a pin. Open the structure again.
- Put the clipper foot over the ribbon again, only now the spiral should be on the left side of the needle under the recess.
- Fix the tape along the cut from the top cut to the mark. Close the lock.
- Indent down from the mark on the cut, unscrew the free lower end of the lock on the seam allowances.
- Start the seam as close as possible to the last stitch at the sewing in seam. The line should overlap the line of embedding the zipper and be located on the left at a distance of 1 mm. Hold the end of the lock constantly.
- Cut off the ends of the tape, make a fringing with the fabric, fasten the ends of the stitches for reliability with a double knot.
- Iron the allowances at the finished site.
How to embed a secret fastener in a product from a thin fabric?
When choosing where the zipper will be located, remember that it looks different on fabrics with different characteristics:
- The clasp in the side seam in the light, thin, delicate dress is better not to insert, otherwise - it will lead. In such cases, the best option is the center line on the back.
- If the material is airy and loose, it is better to additionally reinforce the non-woven seam allowances.
- It is not recommended to sew zippers in a single layer in chiffon products, because the fastener can pull off the fabric or become noticeable. In such situations, you need a special lining.
You will need to perform such actions to embed the zipper into a particularly thin material:
- Fold the parts from the main light fabric with the wrong sides to each other, grind, backing 7 mm from the cut.
- Bring the line to the end of the tape to the very edge of the stock.
- Cut allowances, iron the seam so that they remain inside.
- Lay the line straight, retreating 7 mm from the edge, finish it 3 cm further than the first line.
- In one direction, iron the seam allowances, and iron the seam above the seam.
- On the cover, make the same seam at the end of which there should be a transverse fastening.
- Notch a lining allowance to connect two types of fabric.
Stock footage
Now you know how to sew a zipper with your own hands.If you practice a little, then in the future you will be able to stitch any locks on skirts, dresses or products from any fabric yourself.
- How to choose a vacuum cleaner taking into account the characteristics of the house and coatings?
- What to look for when choosing a water delivery
- How to quickly create comfort at home - tips for housewives
- How to choose the perfect TV - useful tips
- What to look for when choosing blinds
- What should be running shoes?
- What useful things can you buy in a hardware store
- Iphone 11 pro max review
- Than iPhone is better than Android smartphones
 (No ratings yet)