Shelves in the kitchen
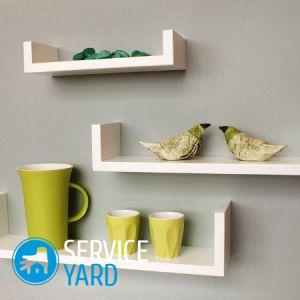
Open kitchen shelves are not only an additional element of the interior, but also a very functional thing. On them you can place beautiful dishes, a variety of jars with cereals and spices, as well as candles and other accessories. Such trifles will bring the atmosphere of home comfort and warmth into the overall design. In order to acquire shelves in the kitchen, you do not have to rush to the shops and pick up those that are ideal for your headset, since you can make them yourself. In this article we will tell you how to make shelves in the kitchen with your own hands so that they are easy to use and complement the style of interior you have set.
to contents ↑Advantages and disadvantages of open shelves in the kitchen
Installing open shelves in the kitchen makes it possible to solve several problems at once:
- Save on the purchase of a kitchen unit. Since this design is one of the most expensive purchases of each house, saving on several closed cabinets and replacing them with shelves, you will see how much cheaper it will cost to arrange a kitchen space.
- Open shelves are so versatile that they fit perfectly into absolutely any style direction in interior design.
- Visually expand the space, thereby making the room more spacious.
- Ease of installation and disassembly.
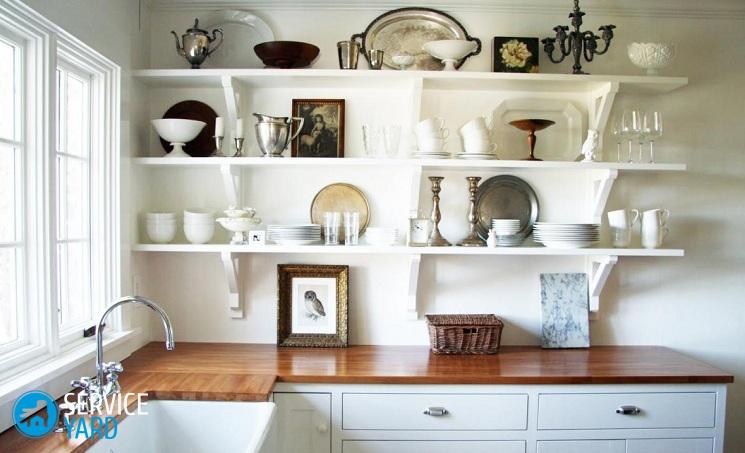
- They allow you to keep at hand all the necessary things, which is very convenient in the process of cooking.
Unfortunately, open designs have some of their drawbacks, which must also be taken into account:
- Kitchen utensils get dirty faster, as dust and soot settles on it;
- Cleaning the premises will require much more time;
- Sometimes there are difficulties in the arrangement, since not all kitchen sets are designed for such additional designs.
to contents ↑Important! Designers recommend combining in one interior both open and closed shelves.
Possible options for placing open kitchen shelves
If you decide to make shelves in the kitchen with your own hands, you must first think about their future location, since not only the aesthetic qualities of this room depend on this, but also your convenience. Therefore, we offer you some tips that will be useful during the arrangement of the kitchen space:
- Shelves should not be located directly above the stove, as the structure itself and its contents will always be splashed with oil.
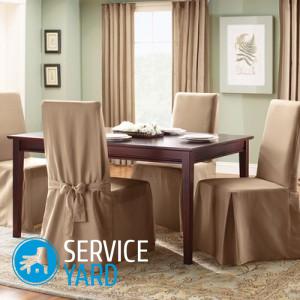
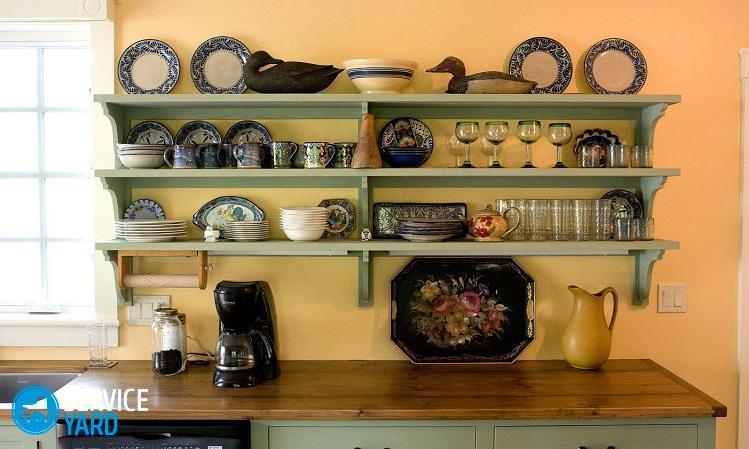
- Open shelves are ideal for decorating the transition from the dining to the work area.
Important! With a studio design, such shelves can create a smooth transition from the kitchen to the living room.
- If your room has a small area, in this case it is best to use angular structures. They are quite roomy, while not taking up too much space.
- In order to add more originality and eccentricity to the kitchen interior, use asymmetric designs.
to contents ↑Important! The most optimal placement of such shelves is the space between the two hanging closed cabinets of the kitchen unit.
How to make open shelves in the kitchen with your own hands?
Self-made open shelves will not be difficult even for a novice.Nevertheless, in order for you to succeed, we bring to your attention a few practical recommendations that will help you in the process of creating a design and manufacturing such structures.
- Think ahead to your future design and degree of workload. If this is not done, there will be a risk that the finished product simply does not fit in dimensions or is simply inappropriate.
- Do not spoil the design of the kitchen if you have a spare sheet of chipboard or plywood in stock.
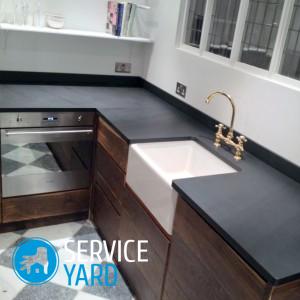
- The color palette of the shelves should always match the color of the countertops, headset doors or walls.
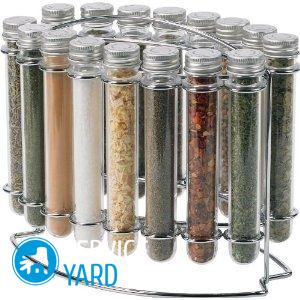
- The dimensions of the finished product must fully coincide with those items that will be placed on it. For example, for spices, it is best to make a small structure, which will be conveniently located in the working area on the side of the stove.
Do-it-yourself shelves in the wood kitchen
Before work on the manufacture and installation of these structures, it is very important to carefully prepare - stock up on all the necessary tools and materials.
You will need: A board made of solid wood or chipboard;
- Accessories for arranging legs;
- Rubble punch;
- Hammer;
- Finished metal posts;
- Screwdriver;
- Sealant and glue;
- Jigsaw;
- Edge;
- Pencil;
- Sandpaper;
- Ruler;
- Compass.
Once everything necessary for the work has been prepared, you can proceed directly to the manufacture of shelves. The order of work must be carried out in the following sequence:
- Using a corner and a pencil on the used sheet of material, draw the future product.
- Insert a file for woodworking into a jigsaw and cut out the necessary structural elements.
- Round the ends of the finished workpiece elements.
- Sand the edges with sandpaper.
Important! Pay attention to the fact that you need to grind the edges of the workpieces with fine-grained emery paper.
- Apply glue to the area to be glued.
- Secure the metal posts with screws.
- Attach and firmly press on the piping edge.
That's all, your new kitchen shelf is ready. Now it can be safely mounted on the wall.
Production of drywall shelves
In order to make drywall shelves, you will need the following tools and materials:
- Rack profiles;
- Drywall sheet;
- Self-tapping screws;
- Screwdriver;
- The knife is construction;
- Scissors for metal;
- Dowel;
- Pencil;
- Ruler;
- Building tape measure.
To make such a design, you need to adhere to the following algorithm of actions:
- Remove all necessary sizes.
- Build a drawing on a sheet of material used.
- Mark the future location of the finished product.
- Assemble the metal frame from the profile.
- Install the finished frame on the wall.
- Cut shelves from a drywall sheet.
- Paste the drywall shelves with a material that is not afraid of moisture and is easy to clean, for example, with special adhesive film or open with paint.
- Install the shelves in the finished metal frame.
Installation of finished structures on the wall
The method of installing finished shelves depends entirely on the material of which the wall is made. For example:
- If it is wooden, you just need to nail them to the surface with nails.
- If the wall is brick or concrete, you will need to drill holes with a perforator and insert a dowel or anchor into it.
- The most difficult is the installation on the walls of drywall. This is due to the fact that such walls are not able to withstand heavy objects, since they do not differ in high hardness. In this case, it is necessary to use dowels of a special design.
- As for various cellular materials, such as gas or foam concrete, manufacturers produce special anchors that can be fixed on a porous material.
to contents ↑Important! In no case can foam concrete be drilled with a perforator, since this material crumbles very much.
Unusual and original ideas.
If you want to make an original and non-standard element of decor from an ordinary shelf that will become a bright accent in the interior, we offer you some very interesting ideas:
- The shining decorative shelf will become just a highlight of your kitchen. For its manufacture you will need a textured board, luminescent pigments and polyester resin. The pigment is mixed with resin and poured onto a board, after which it is sealed with adhesive tape on top. Once the resin has dried, it must be carefully sanded and varnished.
Important! The resin should dry completely, otherwise - in the end you will get a blurry stain.
- Soaring designs. Such shelves visually create an effect, as if they are floating in the air and are not fixed to the wall. Nevertheless, they have a mount, and quite durable. For these purposes, a 3x4 centimeter block is used, which is mounted horizontally on the wall. Such a system makes up both the frame and the fastening of the future design.
- Shelf for indoor plants and greens. The kitchen is an ideal place for indoor flowers, as well as arranging small beds where you will grow aromatic herbs. Therefore, a two-tier shelf will help you place as many pots and flowerpots on the windowsill as possible. For its manufacture, you will need a bar measuring 2x4 centimeters. As for the design, it can be absolutely anything. In this case, you can fully show your imagination.
Stock footage
As you can see, making shelves for the kitchen on the wall with your own hands is quite easy and simple. The most important thing is to correctly calculate and plan the future design of the finished product, as well as its location. We hope that our recommendations will help you in the arrangement of the kitchen space, taking into account your preferences and financial capabilities.
 (No ratings yet)