

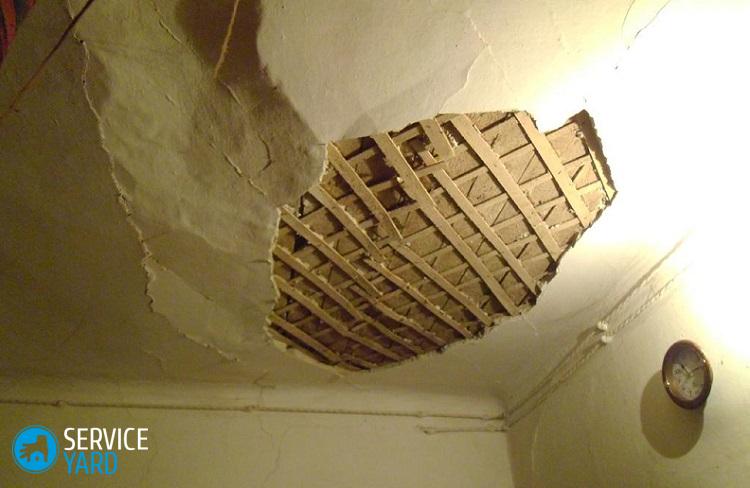
Stucco shingles
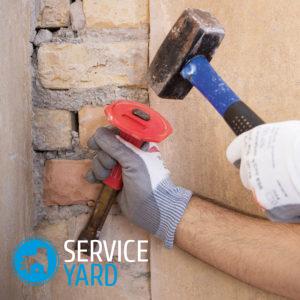
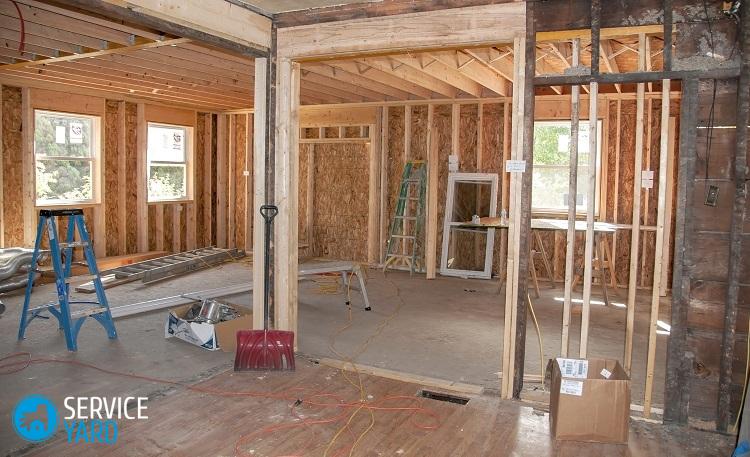
One of the easiest and cheapest ways to change the layout of a house is the construction of wooden partitions. Before decorating, the shingles for plaster need preparation and protection. In the process of performing plastering work, a novice master may encounter some difficulties, since wood, despite its inherent porosity, does not interlock with the building mixture. For this reason, stucco on wood needs special preparation of the walls and careful observance of all stages of work. If you do everything right, you will get a solid and even surface, which in its quality will not be inferior to the plastered concrete surface.
to contents ↑The specifics of preparing a wooden surface
In order to ensure good adhesion to a wooden wall, special surface preparation is needed. For these purposes, a kind of retainer is used - a crate made of metal or wood.
Important! Wooden shingles are made of narrow slats 3-55 mm thick, about 15-20 mm wide and 1-2 m long. Such slats are called shingles and are usually sold in packages of 50 or 100 pieces.

In order to make shingles for plastering with your own hands, you will need the following:
- Fuck.
- Building level.
- Sharp knife.
- Hammer.
- Nails 20-40 mm and a diameter of 1-1.8.
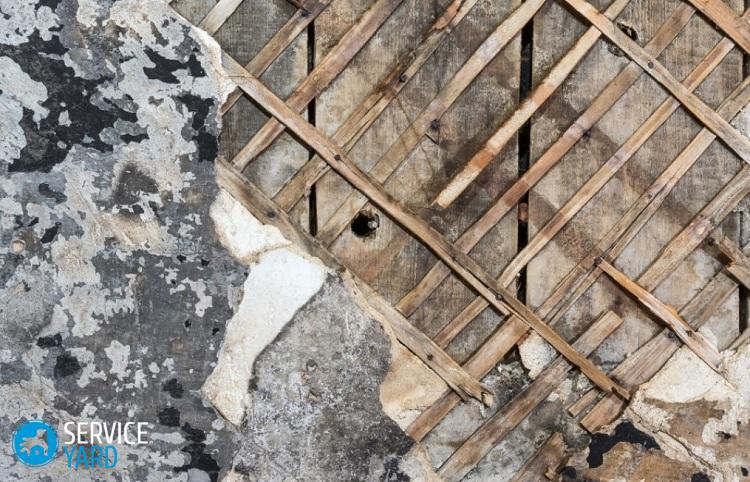
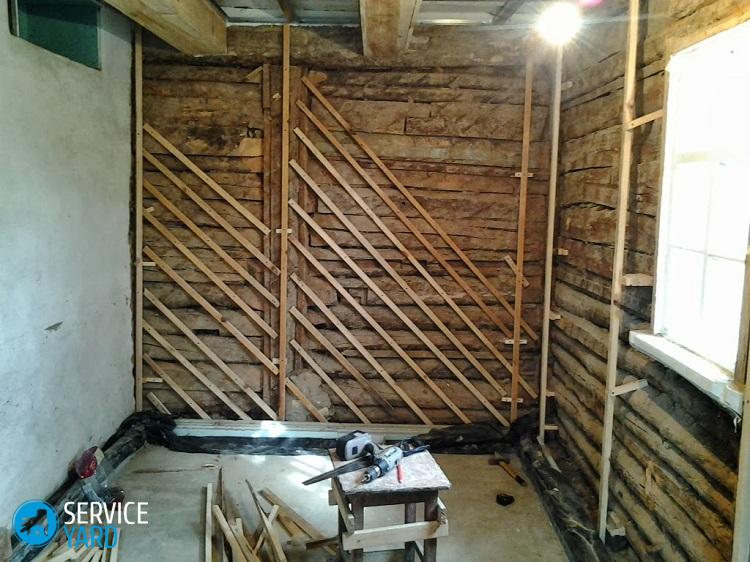
The shingles are laid on the wall in two layers. Wherein:
- For the first layer, which is called the mantle, thinner and uneven slats are used, the thickness of which is about 3 mm. They are placed on the wall surface at an angle of 45 degrees relative to the floor line at a distance of about 50 cm from each other.
- For the output - the second layer, wider and more even strips are selected, which have a thickness of 4-6 mm. They are mounted on the wall at the same angle, but with an inclination in the opposite direction. So, the layers arranged crosswise form a kind of mesh.
to contents ↑Important! If your fray is already 10 mm, when hammering a nail, it may crack. Too wide and thick slats during work will bend from moisture, as they simply will not have time to dry out.
Shingles manufacturing instructions
The phased sequence of work on the preparation of walls of wood for plaster shingles will look like this:
- Make 2 rows of dandy, trying to drive the nails not to the end, but only fixing the planks.
- Nail the entrance strip with two nails on both sides. Usually hammer one nail, and drive another one at an angle so that its tip is directed to the nearest edge of the bar. This will “pull” the shingles and improve the fastening properties.
- Drive the nails into the stretched out brawl every two sheet pans, placing the nail exactly in the middle of the bar at the intersection of the two layers.
- Place the ends of the planks with a small gap of 2-3 mm, which is necessary to prevent the swelling of wooden strips when applying plaster.
- Pull out the nails that secure the first layer and use them. Do not forget to fix the ends of the planks well, as they can later distort and damage the plaster layer.
Important! If you need to plaster a large surface, then to speed up and simplify the work, it is better to buy not a piece but a shield type of shit, which is sold in stores in the form of ready-made shields.
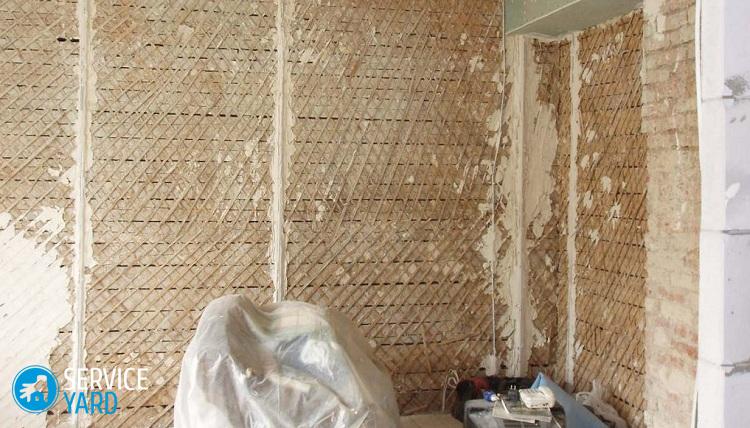
At the stage of preparing the walls, it is necessary to take into account several important nuances:
- Starting work is from below, gradually moving towards the ceiling.
- Using a dry shit, it must be soaked before packing.
- In rooms with high humidity, surface preparation before plastering involves the installation of waterproofing.To do this, before starting stuffing, you should fix a plastic film or a special membrane on the wall.
Important! Instead of shingles, it is allowed to use a metal mesh of aluminum or copper wire with a joiner cell of 40-70 mm. The mesh should fit snugly against the wall and not sag.

Plaster mixes for wood surfaces
For plastering wooden walls and partitions, gypsum, lime or cement-based compounds can be used. In this case, slag or quartz sand with a fraction size of about 1.2 mm is taken as a filler.
Sand-cement mixture
Sand-cement mortar is prepared as follows: ¾ parts of sand are mixed in a dry form with 1 part of cement until smooth, after which water is added and the solution is adjusted to the desired consistency. Such a plaster composition will be appropriate for rooms with different operating conditions.
Gypsum-lime
For rooms with a normal level of humidity, you can use a gypsum-lime mixture. With the independent preparation of such a solution, the following proportions should be adhered to:
- 1 part gypsum.
- 1 part lime.
- 2 parts of sand.
Important! Since gypsum hardens very quickly, reducing working time, instead of pure gypsum, it is recommended to use gypsum mixtures, which include setting retarders. For such purposes, a gypsum starting putty is suitable.
Cement-lime
Cement-lime mortar is suitable for wet rooms such as kitchens and bathrooms. For self-cooking, you will need the following:
- 1 part lime test.
- 1 part cement.
- 2 to 5 parts of sand
Lime dough is bred in a separate container with water. In this case, the volume of water should equal the volume of lime. The prepared solution is added to the sand-cement mixture and mixed thoroughly.
Important! Before use, the lime must be pre-quenched, and also aged for one month, so that during the drying process the plaster does not swell and does not deteriorate due to openings from the incoming gas.

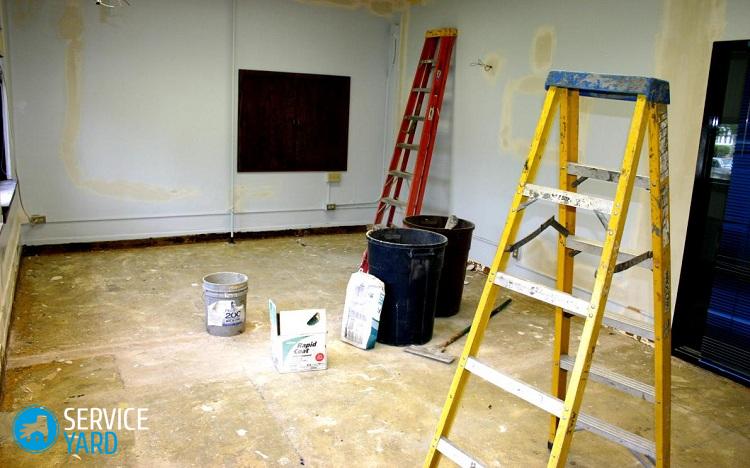
Tools required for work
To apply shingles, you need the following:
- Large capacity.
- Construction mixer or drill with a special nozzle.
- The rule.
- Trowel and putty knife.
- Grater.
Plastering
Plastering wooden walls occurs in the usual sequence:
- Spray layer.
- Priming.
- Nakryvka.
Features of the process:
- Before starting plastering work, beacons should be installed on the walls to determine the thickness of the desired layer of plaster. To fix these beacons, as a rule, use quick-setting solutions, for example, alabaster or gypsum.
- The first plaster layer is sprayed. The solution for this layer is prepared more liquid, with a consistency similar to sour cream, PVA can be added to improve adhesion. It fills sections of shingles, as well as existing cavities on the surface of the wall.
- The thickness of the first layer should be no more than 9 mm, taking into account the thickness of the shingles. The composition needs to be sprayed at an angle of 45 degrees on both sides of the crate to carefully fill the entire space under the shingle without voids under the slats.
Important! If you do not have much experience in plastering, then instead of a trowel or trowel, you can use a broom, which is made up of 5-7 rods, to wrap the mortar. Dip it in the mixture and spray the solution onto the wall with sudden movements.
- The next plaster layer, referred to as soil, is applied to the rough layer after it dries. For gypsum-lime mortar, the thickness of the soil when applying it in one layer should not be more than 5 mm. For simple plastering, the thickness of the final primer should be more than 12 mm, for improved - more than 15 mm. In this case, the soil can have from 1 to 3 layers, each of which is compacted and leveled using a long two-meter rule.
Important! Do not neglect the restrictions on the thickness of the plaster layer.The solution has high humidity, so when applying too thick layers, it will not have time to dry out, and moisture will be absorbed into the tree, which, in turn, will lead to its decay.
- The lining layer is made of a more liquid solution than the one used for the soil. This layer should be especially thin and have a thickness of not more than 2 mm.
Important! Each layer of plaster should be applied after the hardening of the previous one. The excessively long intervals between the application of the layers cannot be maintained either, since overdrying of the previous layer significantly reduces the quality of adhesion of the material to the surface. If the plaster layer is dry, then the entire surface will have to be moistened and notches made on it using the sharp angle of the spatula.
Rules for drying plaster
And finally, it is worth mentioning the rules for drying plaster shingles:
- Plaster must be protected from vibration and shock.
- The room in which the plastering works are carried out must be dry and warm.
- For high-quality moisture removal it is necessary to organize intensive ventilation.
- After completion of the work, the plaster should dry naturally for 2-3 days. It is possible to finish it forcibly only after this period, using warm air.
Stock footage
So, despite the abundance of new technologies in the field of construction, time-tested methods also do not lose their relevance. In particular, the use of shingles for plaster in the process of finishing in wooden houses. Following our tips and tricks, you can do this work quickly and without any problems.
- How to choose a vacuum cleaner taking into account the characteristics of the house and coatings?
- What to look for when choosing a water delivery
- How to quickly create comfort at home - tips for housewives
- How to choose the perfect TV - useful tips
- What to look for when choosing blinds
- What should be running shoes?
- What useful things can you buy in a hardware store
- Iphone 11 pro max review
- Than iPhone is better than Android smartphones
 (No ratings yet)