

DIY kitchen made of wood
Decided to convert the kitchen? Great idea! But each time the question arises: what to put there? The furniture catalogs are full of all kinds of cabinets, tables and corners - eyes run wide. But upon closer inspection, it most often turns out that this is not suitable for your apartment - the sizes are not suitable, the configuration is not the same, the price is much higher than the one that would suit you. But there is a way. A wooden kitchen with your own hands is quite possible, if you know how to work with carpentry tools at least a little. You will learn about how to make furniture from the article.
to contents ↑Let's start with the project.
Before you make a kitchen with your own hands from wood, you will need a project or at least a sketch. You can do it in two ways:
- draw on a sheet;
- develop using special computer programs.
If you know how to draw a little, the easiest way is to draw a plan, mark on it what should be mandatory:
- a sink;
- stove;
- a dryer;
- window;
- doors
- the location of sewer and water pipes, as well as electrical wiring;
- location of ventilation equipment.
After that, you might think what else to put, and figure out how it all might look.
But pretending to be an architect of the last century is not necessary. Now there are computer programs that allow you to develop an interesting design of any room, taking into account specific conditions. And some of them do not even have to be installed on your computer - you can do everything directly on the Internet and even publish your project if such a desire suddenly arises. Such programs include, for example, Designer Online.
to contents ↑Important! Before you install a computer program or try to make your project on the Internet, carefully read the requirements for the operating system and browser.
It all starts with numbers
Regardless of how you are going to design a kitchen set with your own hands made of wood, you need to know the dimensions:
- the width and height of the walls;
- dimensions of preinstalled equipment.
All this is measured by the most ordinary roulette. You will also need the total area of the floor and walls, which is calculated by the most traditional method — by multiplying two adjacent sides, since most often all planes have a rectangular or square shape. If you have a non-standard kitchen, consider the geometry of the room so that the finished kitchen with your own hands made of wood correctly gets up there:
- when calculating the floor area, the niche area is added and the protrusion area is subtracted;
- if the geometry is complex (and in very old kitchens there are trapezoidal, pentagonal, and round), the area is calculated by the formula for this geometric figure.
We have furniture
Knowing the size of the room and the location of the windows, it will not be difficult to determine the approximate dimensions of the tables and cabinets. However, you need to take into account the following points when designing a kitchen with your own hands made of wood:
- The kitchen should be divided into at least two zones - work and dining, and if it is large, you can also highlight additional corners for other activities.
- There should be free passage to each item.
- Safety requirements must be taken into account - they are, for example, in the instructions for the equipment.
- Do not forget to think over the lighting in advance - this can be not only the only lamp on the ceiling, but also complex, and spot, and the illumination of individual elements.
to contents ↑Important! The best option is cabinets in two floors, between which there is a gap. The roofs of the lower cabinets are also countertops. It is such a set that we are now going to do.
Choosing materials and tools
Do-it-yourself solid wood kitchen is a serious matter requiring good preparation. However, you can’t even make a plywood frame with your bare hands. Better if everything you need is always at hand. First you need, of course, to decide on a place that you can take for quite a long time. If you started a major overhaul and do not yet use the kitchen, it is most convenient to settle there. In any case, the workshop in which you will make your own kitchen and wood should be spacious enough, dry and clean.
If we talk about tools, you need the following minimum set:
- jigsaw;
- screwdriver (you can use a drill with a special nozzle);
- the drill itself;
- level;
- hammer;
- roulette.
What to do?
It would seem, what questions can be? You are busy with the problem of how to make a kitchen set with your own hands made of wood - not plastic or metal. But it’s not so simple. Firstly, different breeds have different hardness, not to mention the fact that they look different, and the price can differ by several orders of magnitude. Secondly, among the lumber you will find plywood, and all kinds of boards, and much more.
So what to make of? The minimum list looks like this:
- boards - chipboard or MDF 16 mm thick;
- Fiberboard with a thickness of 5 mm;
- table board is not thinner than 32 mm;
- shelf holders;
- guides for boxes;
- mounts for cabinets;
- pens;
- door hinges;
- fasteners (usually self-tapping screws, but also ties);
- end tape;
- wood glue.
Boards or chipboard?
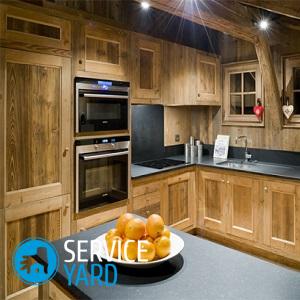
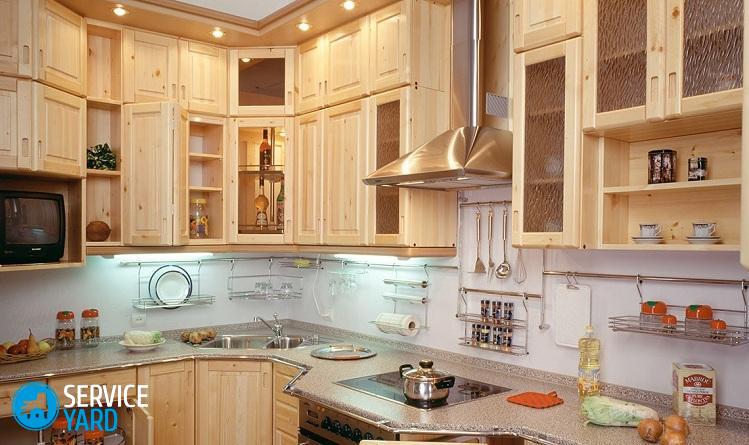
It is highly advisable to choose and install a sink, dryer and stove before you start messing with furniture - and even before designing your own wooden kitchen. Side panels can be made of solid wood - from pine to rosewood, but most often the owners choose a cheaper option - chipboard or MDF, which can be finished for any breed, and it will cost several times cheaper.
If you still decide to make your kitchen cabinets from boards, the breeds are suitable:
- oak;
- Pine;
- elm;
- cedar;
- poplar;
- cherry;
- beech;
- nut;
- maple.
Important! It should be noted that some breeds are not as durable as chipboard. The classic version is oak or beech. Such furniture will cost more, for example, pine, but will also last several decades. But even oak parts are more affected by moisture. Therefore, craftsmen make mostly of them panels, and for the frame they choose something more resistant to water and temperature extremes.
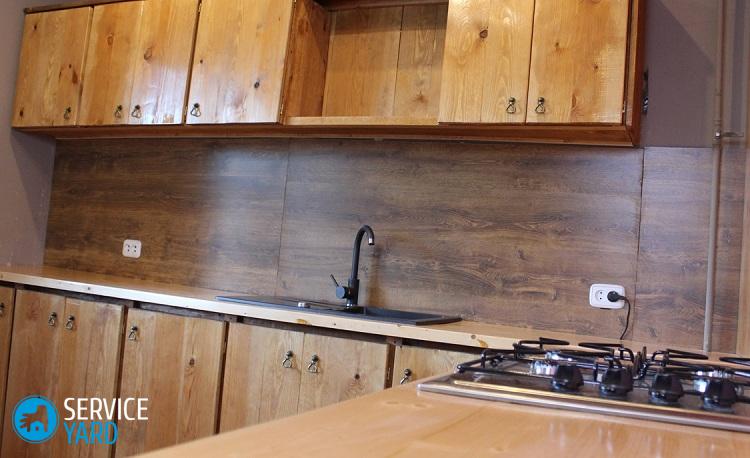
Shields
A great idea is to use ready-made wooden shields. There will be much less fuss with their processing. In some cases, plywood is also suitable - for example, for a country house. But it should be thick enough.
Important! Please note that wood or plywood must be smoothed out, and then coated with two layers of varnish, and the sections treated with sealant.
The question arises: where to get all this to make a wooden kitchen with your own hands? Of course, you can easily find some of the materials in hardware stores or sawmills. But the necessary fittings may not be there, so you have to visit another department of furniture fittings or order everything you need via the Internet.
to contents ↑Cooking items
Making a kitchen with your own hands made of wood is much simpler and faster from finished parts. That is, first you need to do the preparation of the elements. Better to start with the simplest - shelves, countertops and walls. They can be ordered by the indicated sizes. Each such detail is a rectangle of a solid board or laminated particleboard.
Important! If you are cutting elements for a kitchen from a tree yourself, first make a cut card - you can order it in a lumber store or make it yourself on a computer. The scheme will allow you to spend the material as economically as possible.
Regardless of whether you sawed it yourself or ordered it, you need to do the following so that the kitchen from the array with your own hands is of high quality:
- Sand the ends with sandpaper.
- Paste with an edge tape (melamine is fixed with an iron).
- Sign or number, indicating what this or that board is intended for.
to contents ↑Important! If you are sawing a plate yourself, do not forget to make a basing, that is, cut along the edges by 15 mm to remove unnecessary bumps - it is the corners that most often suffer during transportation.
Assembling Headsets
Do-it-yourself wood kitchen furniture is assembled quickly, if everything is at hand and there is nothing to look for. To begin with, all the shelves and doors must be put in place - that is, near the walls where your cabinets will be. Moreover, you need to arrange the elements in the order that you will collect them.
The assembly sequence of the cabinet will be as follows:
- Mark and drill the leg holes.
- For racks with drawers, attach the rails. For a cabinet with shelves, mark and drill holes for the holders.
- Drill holes in the walls of the cabinet for fasteners.
- Connect the bottom and side walls.
- Put the roof down.
- Screw the legs, do not forget to align them first.
to contents ↑Important! Shelves and drawers do not need to be inserted right away - they are put in place last.
Mount the complex
After all the cabinets are assembled, they can be combined into a single design headset for a kitchen made of wood. In this case, the furniture is installed, of course, after the repair work is completed. And what if the repair was not done?
In this case, you need to prepare the walls and floor:
- Repair the apron - if necessary, reposition the tile.
- Check how strong the wall is - just tap it and try to knock down the finish, if everything holds on - you can proceed with the installation.
Regardless of what items your headset consists of and what each section is intended for, it is better to assemble it in this order:
- Set the level of all cabinets that are located below - countertops in the kitchen should not yet be.
- Fasten the structural elements together, the ideal fasteners for this are Euro-ties.
- After all cabinets are connected, close the part adjacent to the wall with a common wall of fiberboard.
- Use self-tapping screws to attach countertops for washing and hob, and possibly for other equipment (for example, dryers).
- Pour holes in wooden structures under the sink with building sealant.
- After that, you can safely put the cabinets, which will be located at the top.
Important! Remember to keep in mind that there must be a distance of at least 650 mm between the top of the lower cabinets and the bottom of the upper cabinets.
Tire
The upper cabinets are mounted on the bus, which must be attached at a certain height strictly horizontally. How to determine the height? Some data you have:
- From the top surface of already installed cabinets, lay up 65 cm.
- Set aside the height of the upper cabinets from this mark - you have almost assembled them, so you just need to measure it.
- Measure down 1 cm - the distance necessary for fastening.
- Draw a horizontal line across the wall through this mark.
- Screw the canopies onto the rear walls of the upper cabinets - they are universal.
- Fasten the cabinets to their designated places.
Final stage
The kitchen set made of wood, made by hand, has already taken its due place. You just have to do a few things - install shelves and cabinets and fasten the doors. If there shouldn’t be any problems with the installation of the shelves, since you have already marked out the places for this and even fixed the strips, then the situation with the doors is somewhat more complicated. You will need an assistant for this operation.Its task is to keep the doors open:
- Mark the hinge on the door and cabinet.
- Fasten the hinge to the door.
- Screw it to the side of the cabinet.
Bring to condition
The final stage in the manufacture of a kitchen set is the installation of electrical appliances. In this case, it is important to provide free access to the outlet and to make the wiring correctly. Some devices must be grounded:
- electric stove;
- Washer;
- Dishwasher.
to contents ↑Important! In principle, all outlets should be grounded, but in old houses this rule is not always observed. Therefore, especially powerful units must be secured in the first place.
Stock footage
Do-it-yourself kitchen furniture is a rather laborious process, but you can create a unique interior. Doors can be decorated with inlay or carving. In a word, this is a real creative work, which not only allows you to make a house especially beautiful and cozy, but also brings pleasure.
- How to choose a vacuum cleaner taking into account the characteristics of the house and coatings?
- What to look for when choosing a water delivery
- How to quickly create comfort at home - tips for housewives
- How to choose the perfect TV - useful tips
- What to look for when choosing blinds
- What should be running shoes?
- What useful things can you buy in a hardware store
- Iphone 11 pro max review
- Than iPhone is better than Android smartphones
 (No ratings yet)