

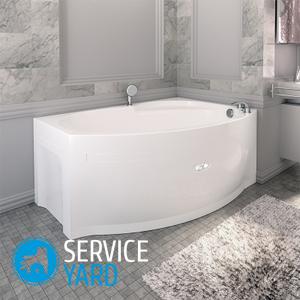
Installing an acrylic bathtub under the tile
Repairing in the bathroom is an expensive and rather lengthy process. This is due to the difficulties that occur during the interior decoration, as well as the placement and installation of plumbing. Probably the most common question that everyone faces is: when is it best to install a bath - before or after tiling the surfaces? In this article, we will answer all your questions and tell you how to install an acrylic bathtub under a tile.
to contents ↑When is the best time to install the bath?
First, we want to answer you the most important question: when is it best to install a bath? In the case of the installation of acrylic plumbing, first you need to lining the surfaces, and then proceed to install the bathroom itself. And due to the low weight and the presence of the factory installation frame, the process becomes much simpler.
As for cast iron and steel models, in this case the installation method is different. To begin with, the floor is screed, after which the tiles are laid on the floor and the bath is installed. The wall lining is made in this case after the installation of plumbing, while focusing on the upper edge of the font.
to contents ↑Important! The area of the room allocated for the bathroom has a huge influence. If it is small, it is more advisable to first carry out decorative wall decoration with tiles, after which it is already installed a bath.
How to install a bathroom under a tile?
Most often, installation of the bathtub is done by experienced craftsmen even before laying the tiles on the walls. This technology is considered the most optimal. This is due to the fact that in the process of laying tiles, the dimensions of the room are measured.
Important! If the installation of the font is done even before the facing work, the tiles are already beginning to be laid from the side of the bathtub, thereby avoiding the appearance of gaps.
Installation of the bathroom under the tile is carried out in the following order:
- Remove all decorative surfaces from all surfaces.
- Level the surface of the walls and floor, while checking your work with a level.
- Decorate the ceiling.
- Lay the tiles on the floor.
- Install a washing container and connect it to the sewer system. To do this, move the font as close to the walls as possible, level its location with a level.
Important! Pay attention to the fact that you do not need to make an additional bias to the floor. The bowl of the bathtub has a special bottom shape, which contributes to a more efficient outflow of water.
- Tile the walls. The first row in this case must be set directly on board the bathroom.
- Seal the joints between the tile and the washing bowl with sealant.
to contents ↑Important! The main advantage of this method is that in this case you can save a significant amount of money on the purchase of facing material, since the surface behind the bathtub remains unprocessed.
How to install a bath after tiling the walls?
Each experienced craftsman can install the washing tank after laying the tiles, but there may be some difficulties with self-installation.This is due to the fact that it is very difficult to guess the exact dimensions of the bath, so sometimes there are gaps between it and the wall, which cannot be repaired with one sealant. Often, mortar and ceramic sides are used for these purposes. Therefore, experts recommend installing the bathroom in the following order:
- All surfaces of a bathroom clear of old decorative finishing materials.
- Remove the old screed from the floor surface. Level the floor and apply a primer to it.
- Level the walls, prepare them for laying tiles.
- Lay the tiles on the walls and finish the ceiling.
- Install the bathroom. You need to do this very carefully and install it as close to the walls as possible. Check the level for evenness.
- Seal the gap with moisture resistant concrete.
to contents ↑Important! If the gap is wider than one centimeter, it must be repaired using ceramic or plastic sides.
Features of the installation, depending on the type of font
Installation of the bath before or after laying the tiles is also carried out taking into account the material from which it is made. Depending on whether the acrylic container or cast-iron, during installation, you may experience some nuances that, if you do not take into account in advance, can significantly frustrate your nerves and delay the entire installation process for a longer time. Therefore, so that you do not have such troubles, then we will talk in more detail about how to avoid them.
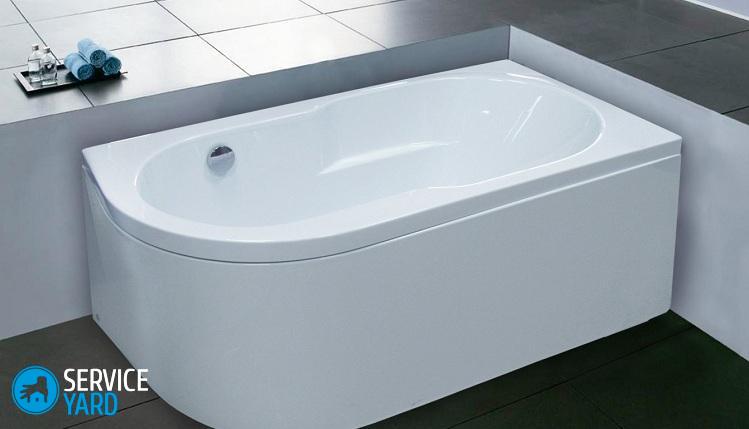
Features of installing an acrylic bath
As mentioned earlier, acrylic models can be installed already after tiling the bathroom completely. In this regard, the product is equipped with the necessary mounting elements and detailed instructions.
Important! Pay attention to the fact that the factory frame is equipped with special adjustable legs that have a rubber tip. This allows not to scratch the tiles during the installation process.
Despite the ease of installation, still installation of an acrylic bath is recommended in the following sequence:
- Assemble the frame according to the manufacturer's instructions. This must be done with self-tapping screws. At the same time, the font itself should be placed exactly in the center.
Important! For greater convenience, it is best to turn the bath upside down.
- Assemble the legs and screw them directly into the frame. Secure them with studs and locknuts.
Important! Fastening the legs is best done by hand, as excessive force can damage the entire structure.
- Install a siphon.
- Install the bath already in the place where it will stand. Use the legs to level the height.
- Secure the container to the wall with hooks. This is necessary so that during operation it does not turn over. In order to fix the hooks, you need to drill a hole in the wall, and then hammer the dowels into it.
- Install a protective screen.
Important! Please note that the mounting corners should only be placed in certain places that have a reinforcing tab.
- Fill the gap between the sides of the bathroom and the wall with sealant.
Important! After installation, the entire structure must be checked for stability. To do this, draw a small amount of water and check the health of the drain.
Features of the installation of cast-iron bathtubs
Installation of this model is done after laying the floor tiles.
Important! When choosing a tile for flooring, check with the seller so that this material can withstand heavy loads.
The installation process itself consists of the following stages:
- Bring the bath to the room and lay it on its side. The drain hole should be in the direction of the sewer.
Important! Experienced craftsmen recommend covering the floor with a cloth or film so as not to damage the tiles.
- Install the siphon as well as the supports.
- Turn the container over to its normal position, check and level it horizontally.
- Install the font in the place prepared for it, while leaving a gap of about 1 millimeter between the wall and the side.
Important! Due to the fact that the surface of the tile is rather slippery, during operation and further operation, the bathtub may shift. To prevent this, the support should be fixed to the surface of the tile with a special waterproof adhesive.
- Tile the walls. Close the places where the skirting board and the sides of the font come in contact with ceramic skirting boards.
Useful Tips
We offer you some practical advice that has already been tested by experienced craftsmen more than once. Thanks to them, you can install the bathroom in a fairly quick time, and subsequent operation will take place without unpleasant surprises:
- Fix the legs of the bathtub so that the outlet element of the siphon flows into the sewer without difficulty.
Important! If the siphon is cast iron, it is necessary to screw a steel pipe into it.
- Always consider the parallelism of the sides relative to the floor.
- Always check the sealing of joints.
- The contact areas of the sewer system and the bathtub must also be sealed without fail.
- If the gaps are very large, they can be laid with a brick, plate or pipe with a layer of sealant.
- Before operating, pour about 10 liters of hot water into the washing tank, and then cold water afterwards.
Stock footage
Self-installation of the bathroom, although a simple process, but requiring extreme accuracy. We hope that we were able to answer all your questions, and you can easily determine when and how to install the bath, depending on its type and size.
- How to choose a vacuum cleaner taking into account the characteristics of the house and coatings?
- What to look for when choosing a water delivery
- How to quickly create comfort at home - tips for housewives
- How to choose the perfect TV - useful tips
- What to look for when choosing blinds
- What should be running shoes?
- What useful things can you buy in a hardware store
- Iphone 11 pro max review
- Than iPhone is better than Android smartphones
 (No ratings yet)