

Installing the faucet on the sink
The use of water for domestic needs has increased requirements for it. Water should have a good pressure and have a comfortable temperature for the human body. To guarantee these characteristics, you need to purchase a high-quality mixer and properly connect it. A huge number of plumbing fixtures are sold in the store, which vary in price and modification. Each manufacturer tries to unify their models so that a person who is even a little familiar with plumbing, do it yourself. Installing the faucet on the sink with your own hands will not be difficult for you if you follow the instructions below.
to contents ↑Mixer selection
Nowadays, a wide range of sanitary equipment is presented in specialized stores. And before you answer the question of how to install the mixer on the sink, you need to choose it correctly. First of all, decide on the design of your room, buy the sink itself and only then buy a new faucet that suits you.
When buying a mixer, pay attention to:
- The material from which it is made. Quality faucets are made of brass and bronze - they have a yellow neck spout. If the neck is gray, this model is made of silumin. Cranes from this material are easily susceptible to corrosion and quickly fail.
Important! Chrome-plated brass taps have a beautiful appearance, are not subject to corrosion, have a long service life, and the coating is environmentally friendly.
- Type of spout. Choose a faucet with a swivel type for the washbasin, as models with a non-swivel spout type are inconvenient to use.
- Sealing elements. They must be made of rubber. Be sure to include a split spacer ring in the kit.
Important! In the absence of a spacer ring, the mixer loosens and leaks.
- The dimensions of its washbasin, so that during installation the water jet does not spray.
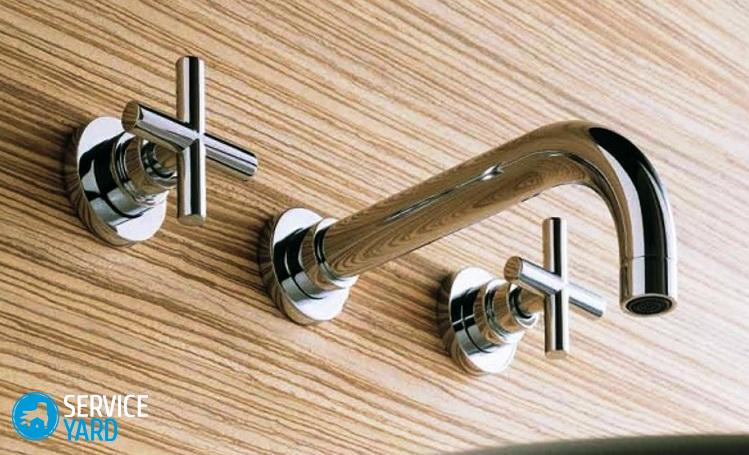
Selection criteria also lie in the design features. There are such types of mixers:
- Two-valve - have two taps. Each handle opens or blocks the flow of hot or cold water.
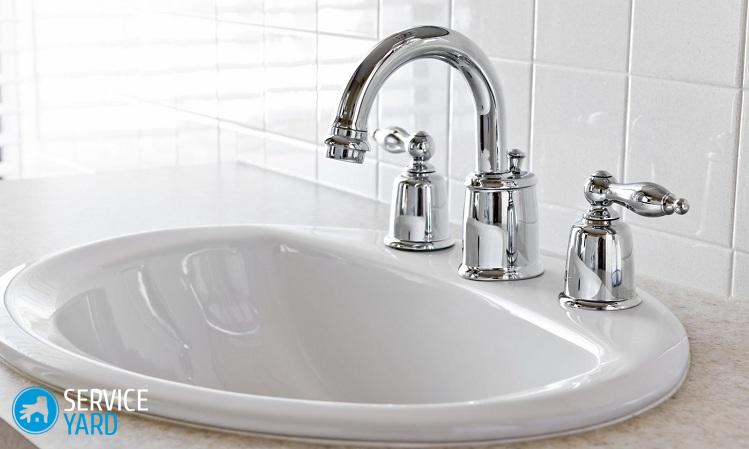
- Single lever - the essence of the work lies in the fact that both hot and cold water is supplied with one lever.
- Thermostatic - the device constantly delivers the previously set temperature, which will not change until you change the set value.
- Contactless - such devices turn on when the built-in photocell is triggered. You do not need to touch them, but simply put your hands under it.
Mixer installation step by step
To get started, prepare the necessary tools and then follow the proposed algorithm.
Tools for work
Installing the mixer on the sink will require the use of the following tools:
- Screwdriver.
- Adjustable and gas wrench.
- Pliers
- FUM tape.
- Silicone sealant.
- Tubular wrench.
Dismantling the old mixer:
- Shut off the cold and hot water supply on the risers, check if it is missing when opening the mixer.
- Disconnect the old faucet from the pipes for cold and hot water, clean the threads in the places where it was fixed on the water pipes.
- Mark where the pipes with hot and cold water are located.
- Use a pair of pliers or a gas wrench to unscrew the nut that holds the tap.
- Remove the half washer, pull up the old tap.
- Pull out the hot and cold water hoses alternately through the hole in the sink.
Mixer Assembly
The main elements for fixing the mixer to the sink are:
- Stud screws.
- Pressure plate with rubber gasket.
- Nuts.
Important! When mounting the faucet on a light wash made of stainless steel, use an additional base plate made of plastic. It is mounted between the sink body and the rubber gasket of the pressure plate. She will provide more rigid fastening of the crane to a sink.
To begin with, check the tightness of the lower nut tightening - it is done manually throughout the thread. If it is tightened well, the tap will not stagger on the sink.
Next, put a spacer ring into the base of the spout. It should fall into the groove. If you hear a click, it means that it is fixed correctly.
Mixer installation
The faucet is fixed to the sink using two connection options.
Important! The inlet is designed to connect the mixer to the water pipe. It can be flexible and rigid:
- A flexible hose is a metal-braided hose that is equipped with a union nut or fitting.
- Rigid - a copper tube with a diameter of 10 mm.
Flexible eyeliner mount:
- Screw the flexible eyeliner to the bottom of the product with wrenches.
- Install the bottom gasket to seal the valve and mounting screws.
- Pass the faucet through the hole in the sink with the supply hoses connected to it.
- Install the mixer in the hole, install a metal pressure washer on its bottom side.
- Install a rubber gasket between the mixer washer and the sink.
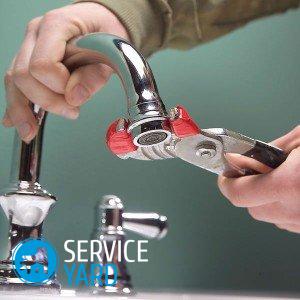
- Screw the nut onto the stud, align the mixer and tighten the nuts using the special clamping wrench.
Important! Tighten the nuts in such a way that the fastening of the mixer to the sink is reliable. But do not overdo it by tightening, so as not to break the threads on the studs, not to damage the sink and not to deform the pressure plate.
- Check for tight mounting. If the mixer does not move when you turn the handle of the water supply or spout, then - you did everything right.
- At the end of the installation, connect the flexible hoses to the hot and cold water pipes. To do this, screw the nuts onto the threads of the water pipes.
- Seal the connections with threads using FUM tape.
- Install the mixer in the “on” mode and open the riser with cold water.
- Check for leaks at the connections to the mixer and at the connections to the water pipes.
- Repeat the same procedure with hot water.
Rigid Mount
This method is rarely used, because it is more complicated, but the period of operation is much higher.
Installing the mixer on the sink using a rigid eyeliner is as follows:
- Screw the corner needle into the tap entrance.
- Install a gasket to achieve a hydraulic seal between the sink and the faucet.
- Insert a new tap into the mounting hole.
- Seal the tap from below and seal with a rubber gasket.
- Screw the straight needle into the mixer until it stops.
- Cut off excess pipe using a pipe cutter.
- Fix the pipes with the special clamps of the couplings.
Useful Tips
The fastening of the mixer to the sink has some nuances, considering which you will do this work efficiently and in a short time:
- Using a flexible eyeliner will make your job easier if you have different lengths of eyeliner tubes. When installing, the fittings on both eyeliners will not interfere with each other and will pass through the hole in the sink in turn.
- When buying a new sink and faucet, install the structure at the same time until the sink is installed in your chosen location. This will simplify the work.
- If you are replacing an old plumbing fixture with a new one, then process the joint with a tool such as WD-40 during dismantling, and after 20 minutes you can unscrew the old one without problems - you will not damage the water pipe.
- Use silicone sealant if the fastener consists of a thin stud and a pressure plate to securely fix the pressure element and prevent gaps.
Stock footage
Many doubt their abilities and capabilities, but if you take into account all the nuances and follow all the above instructions, installing the mixer on the sink will not bring difficulties and problems, and the result will exceed all your expectations. Proper installation will ensure reliability, smooth operation and comfort during operation.
- How to choose a vacuum cleaner taking into account the characteristics of the house and coatings?
- What to look for when choosing a water delivery
- How to quickly create comfort at home - tips for housewives
- How to choose the perfect TV - useful tips
- What to look for when choosing blinds
- What should be running shoes?
- What useful things can you buy in a hardware store
- Iphone 11 pro max review
- Than iPhone is better than Android smartphones
 (No ratings yet)